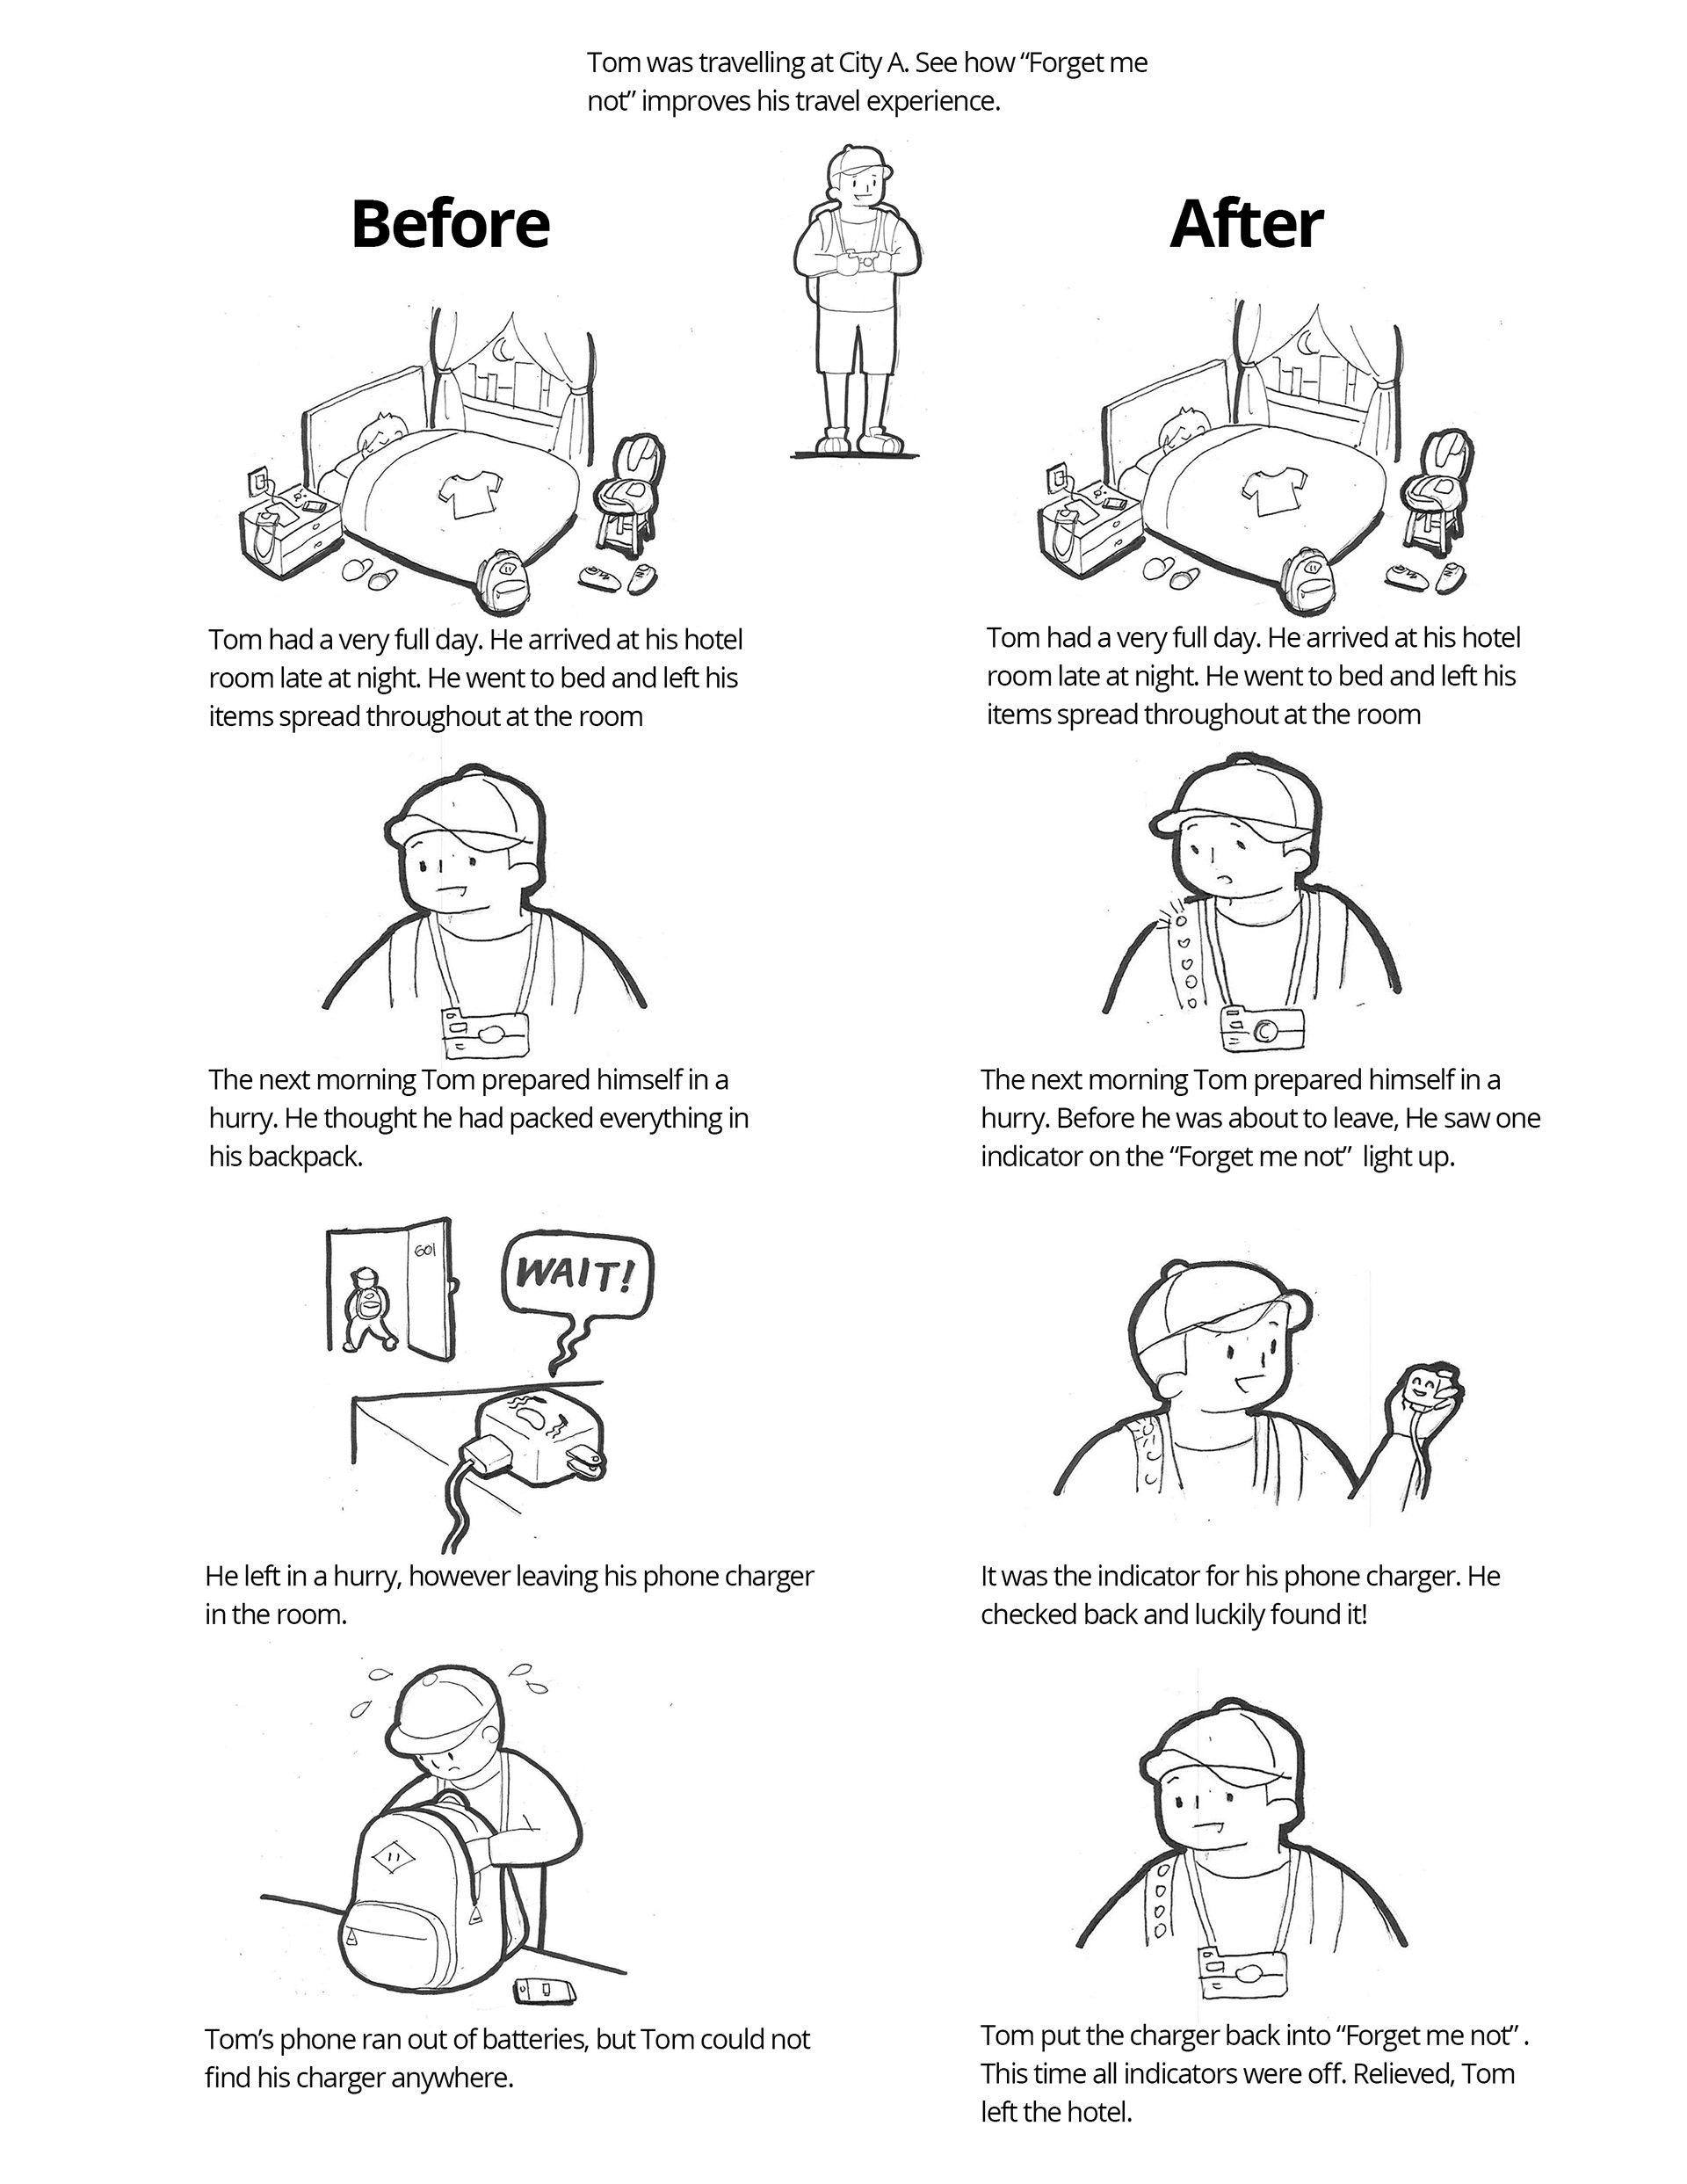
Prototyping with LEDs and Sparkfun Flexible Displays
Upon the prototyping phase, we made the decision to use cheaper pre-made materials to test our use cases. While the Sparkfun flexible displays were less versatile much more difficult to customize, they would suffice while we waited on the materials that would afford us fabricate our own flexible displays from scratch.
Prototype: RFID and LEDs with user tests.
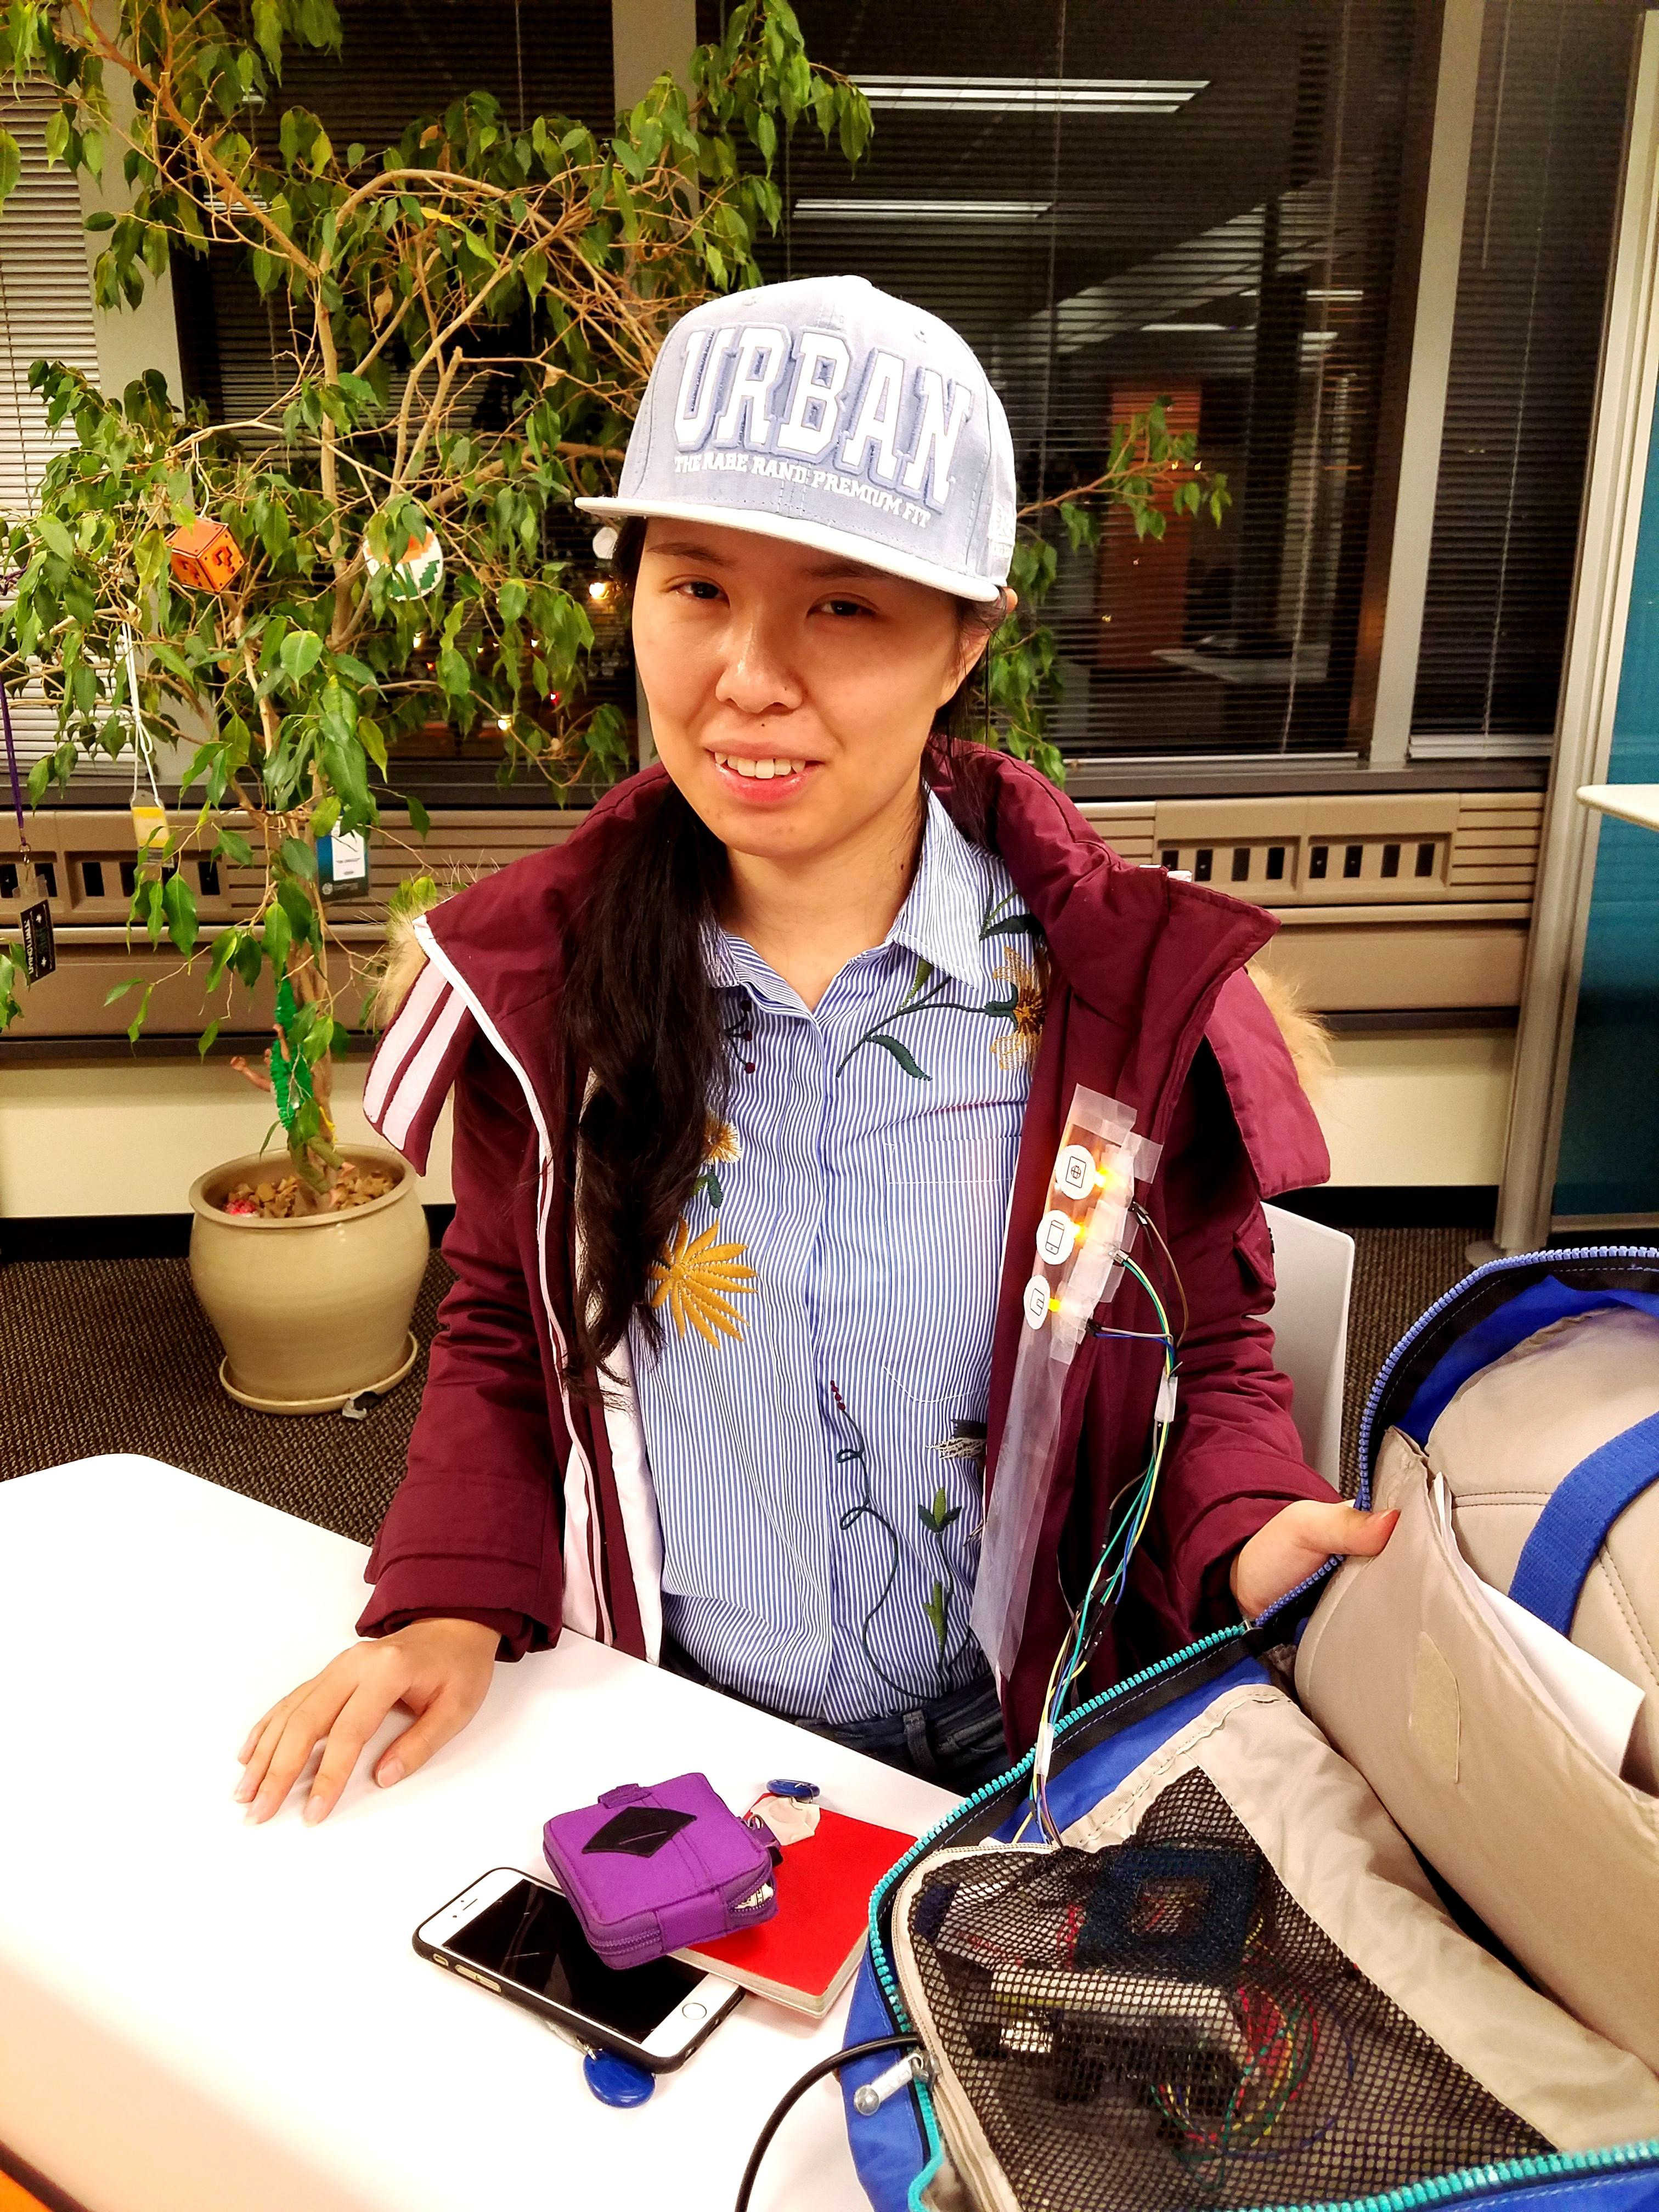
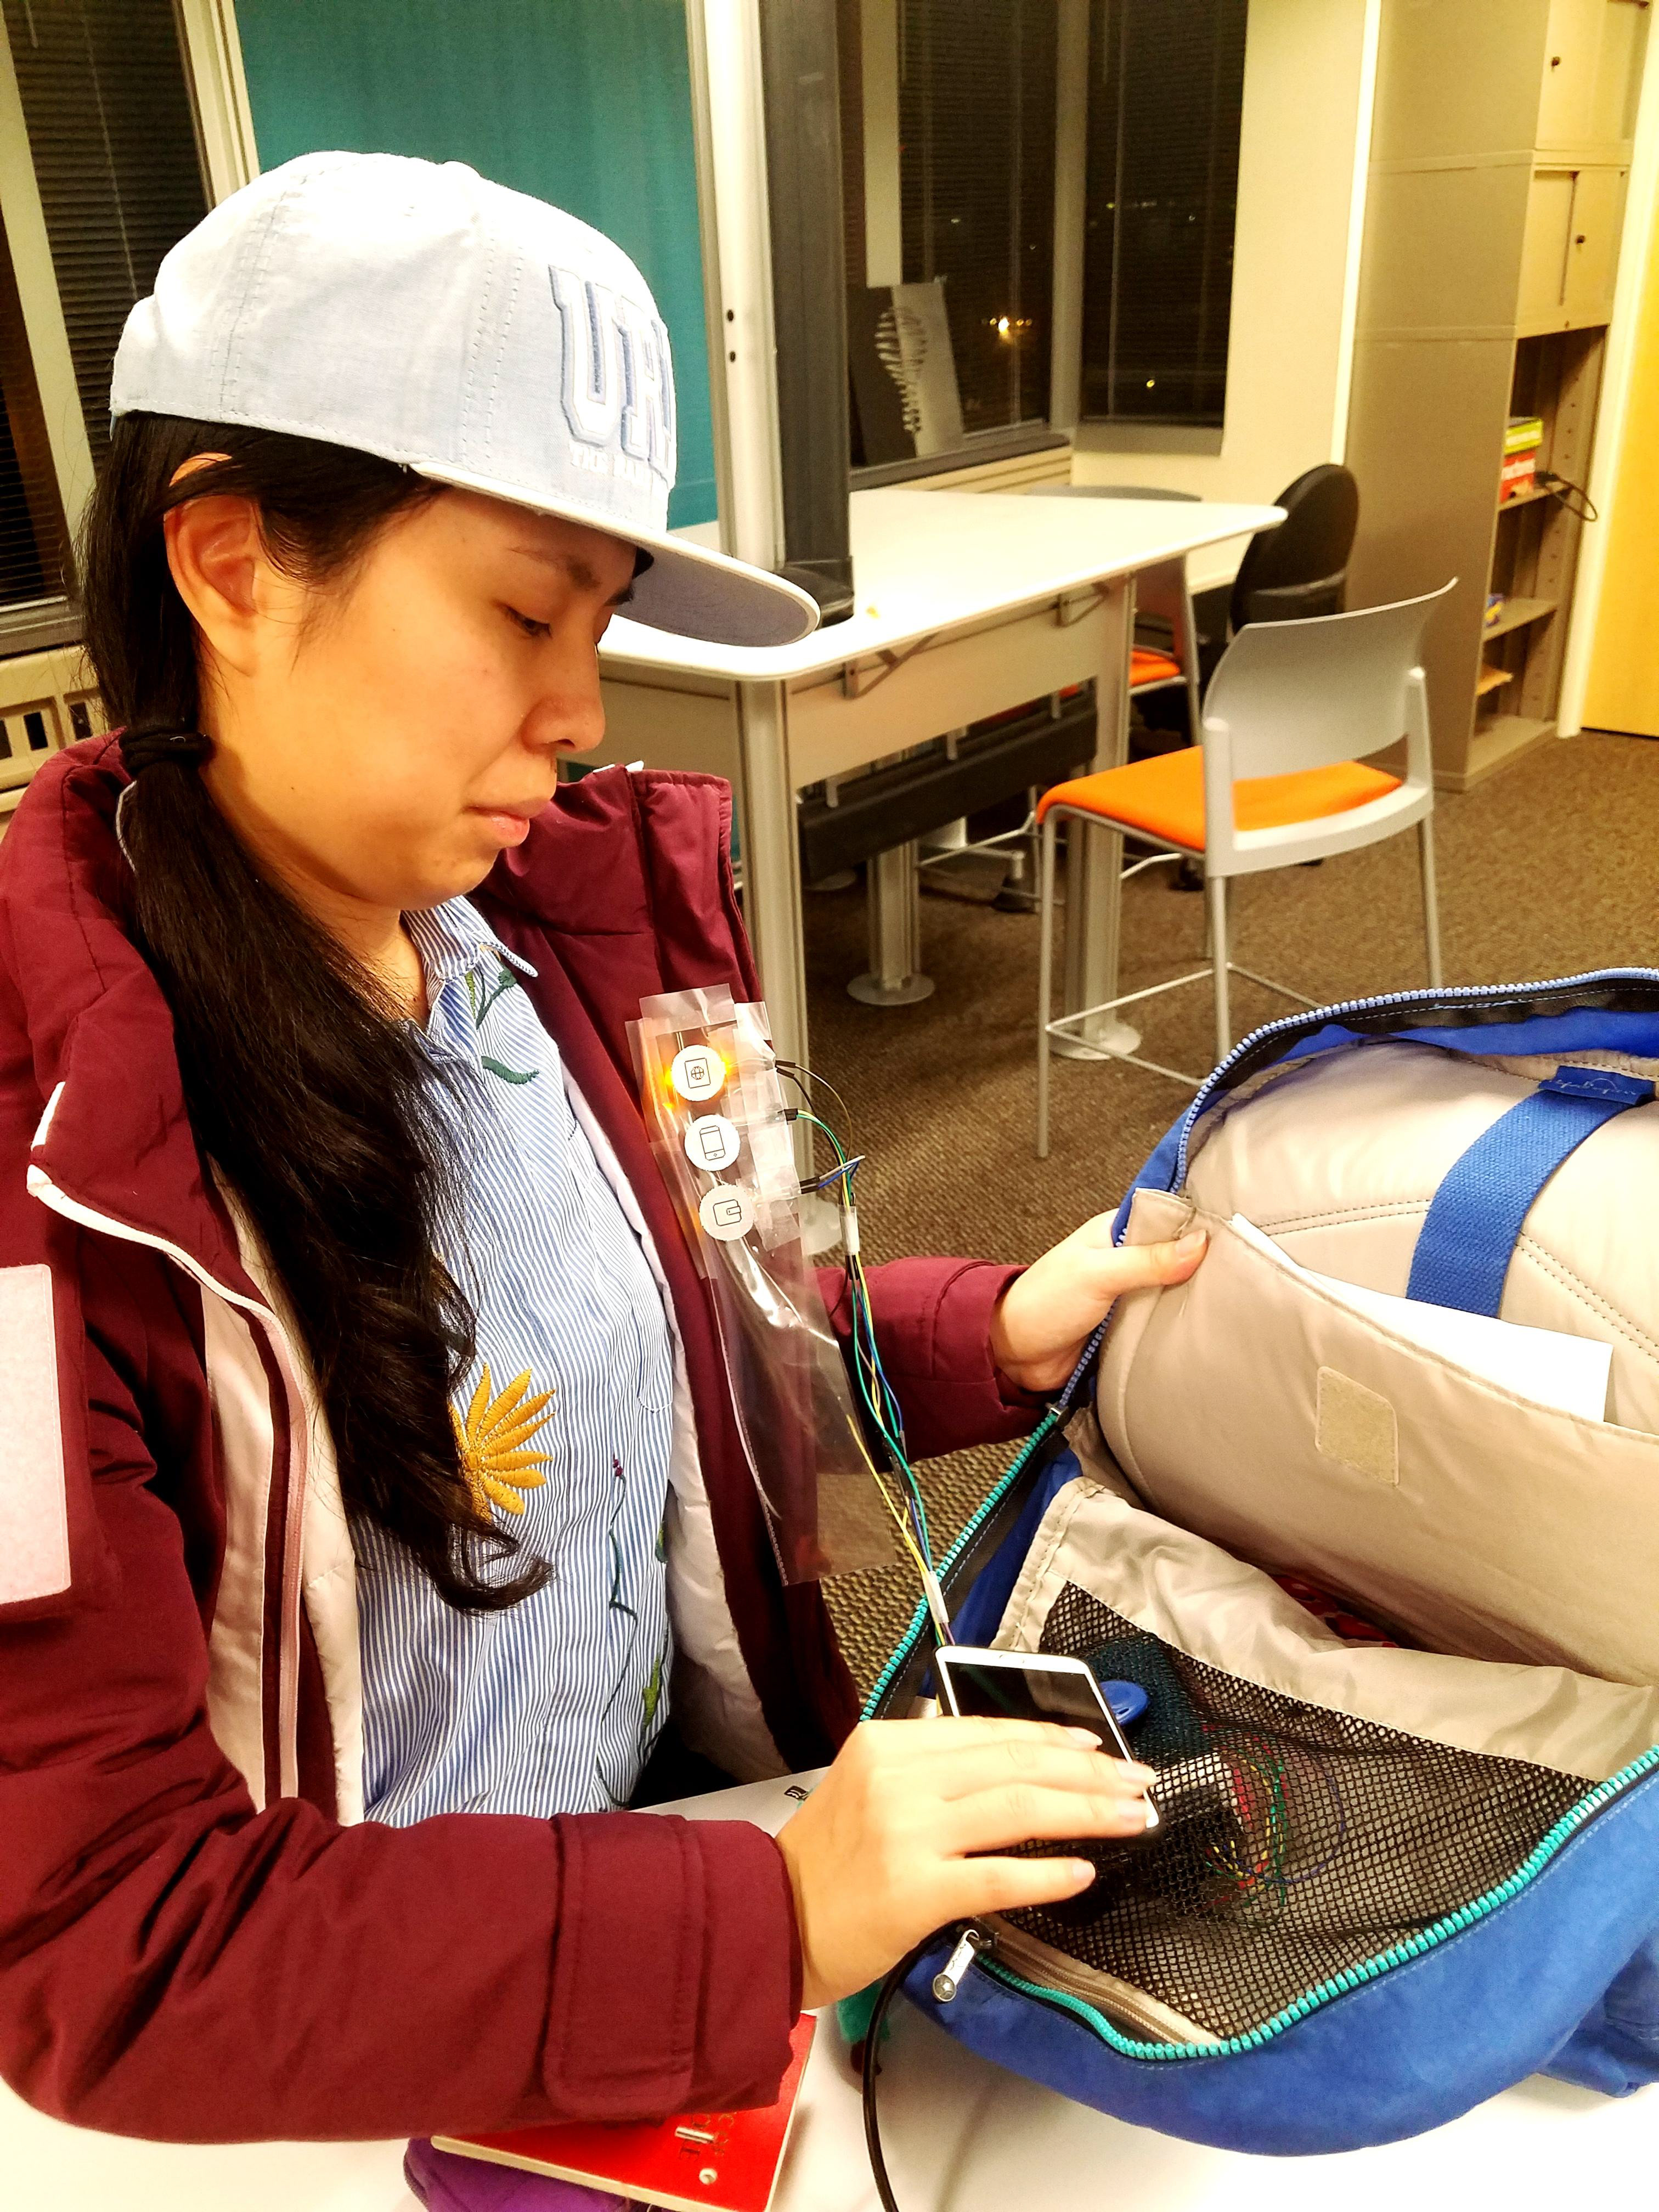
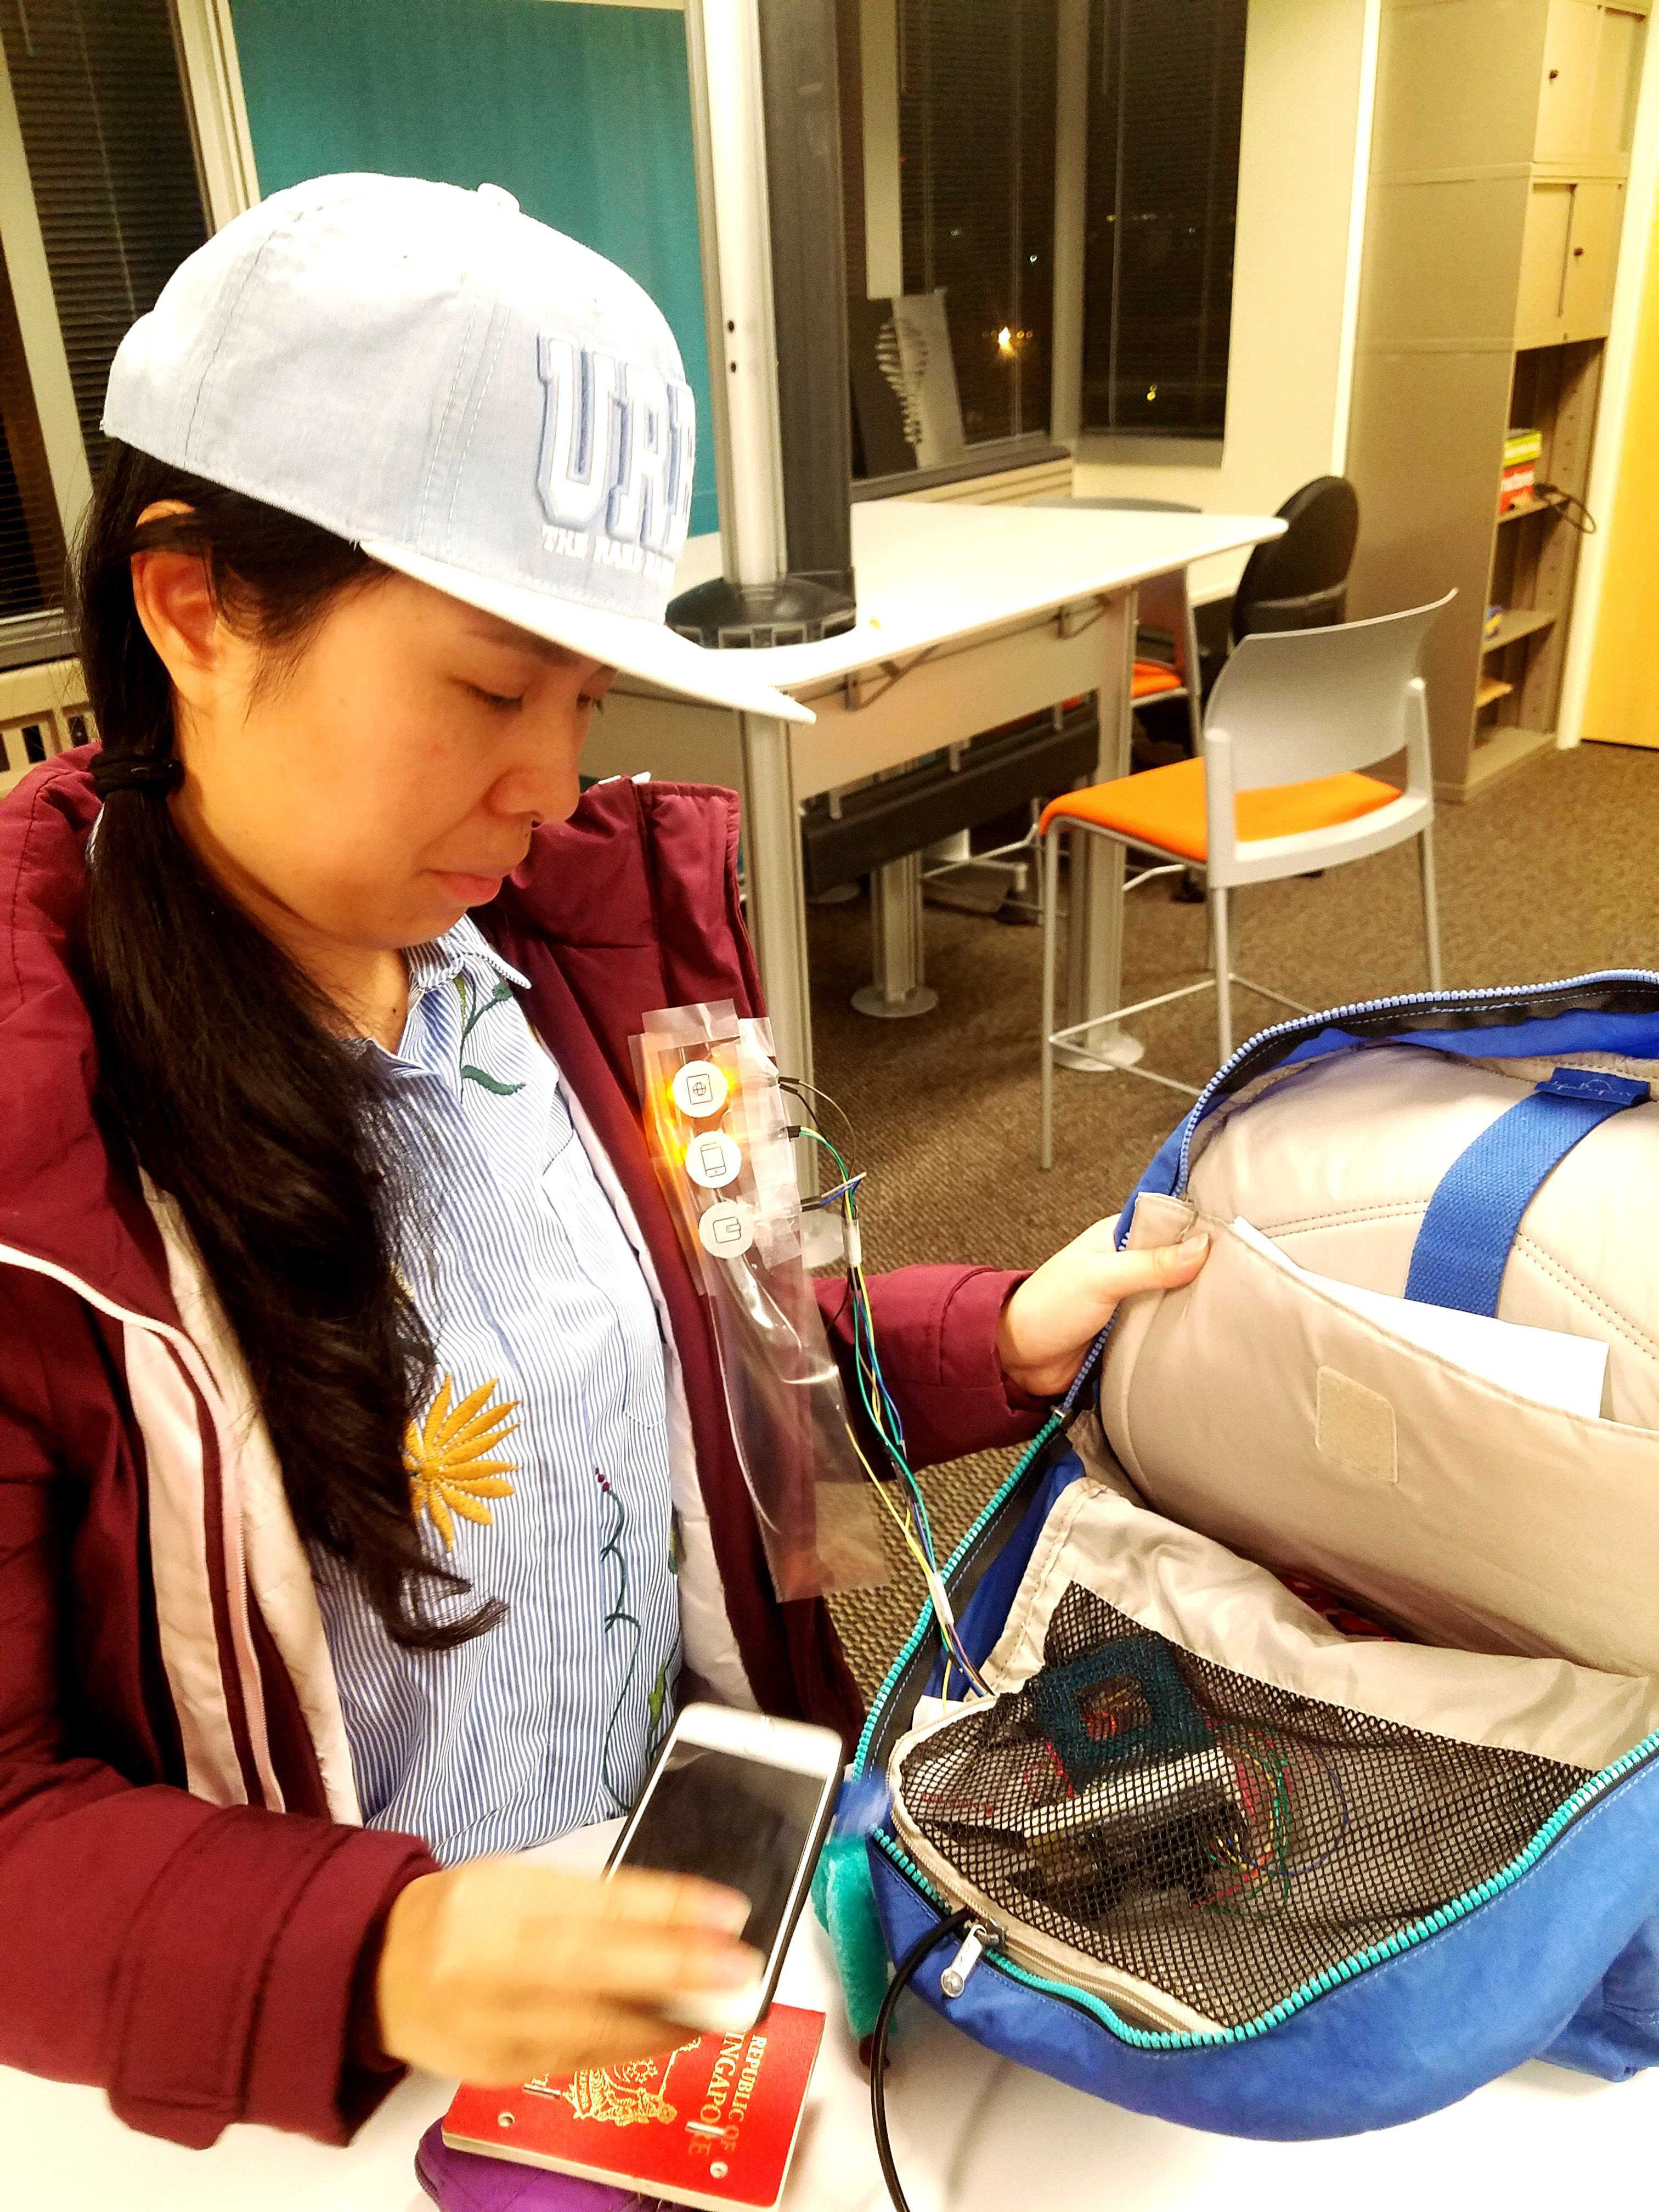
Project overview video up to prototype 1
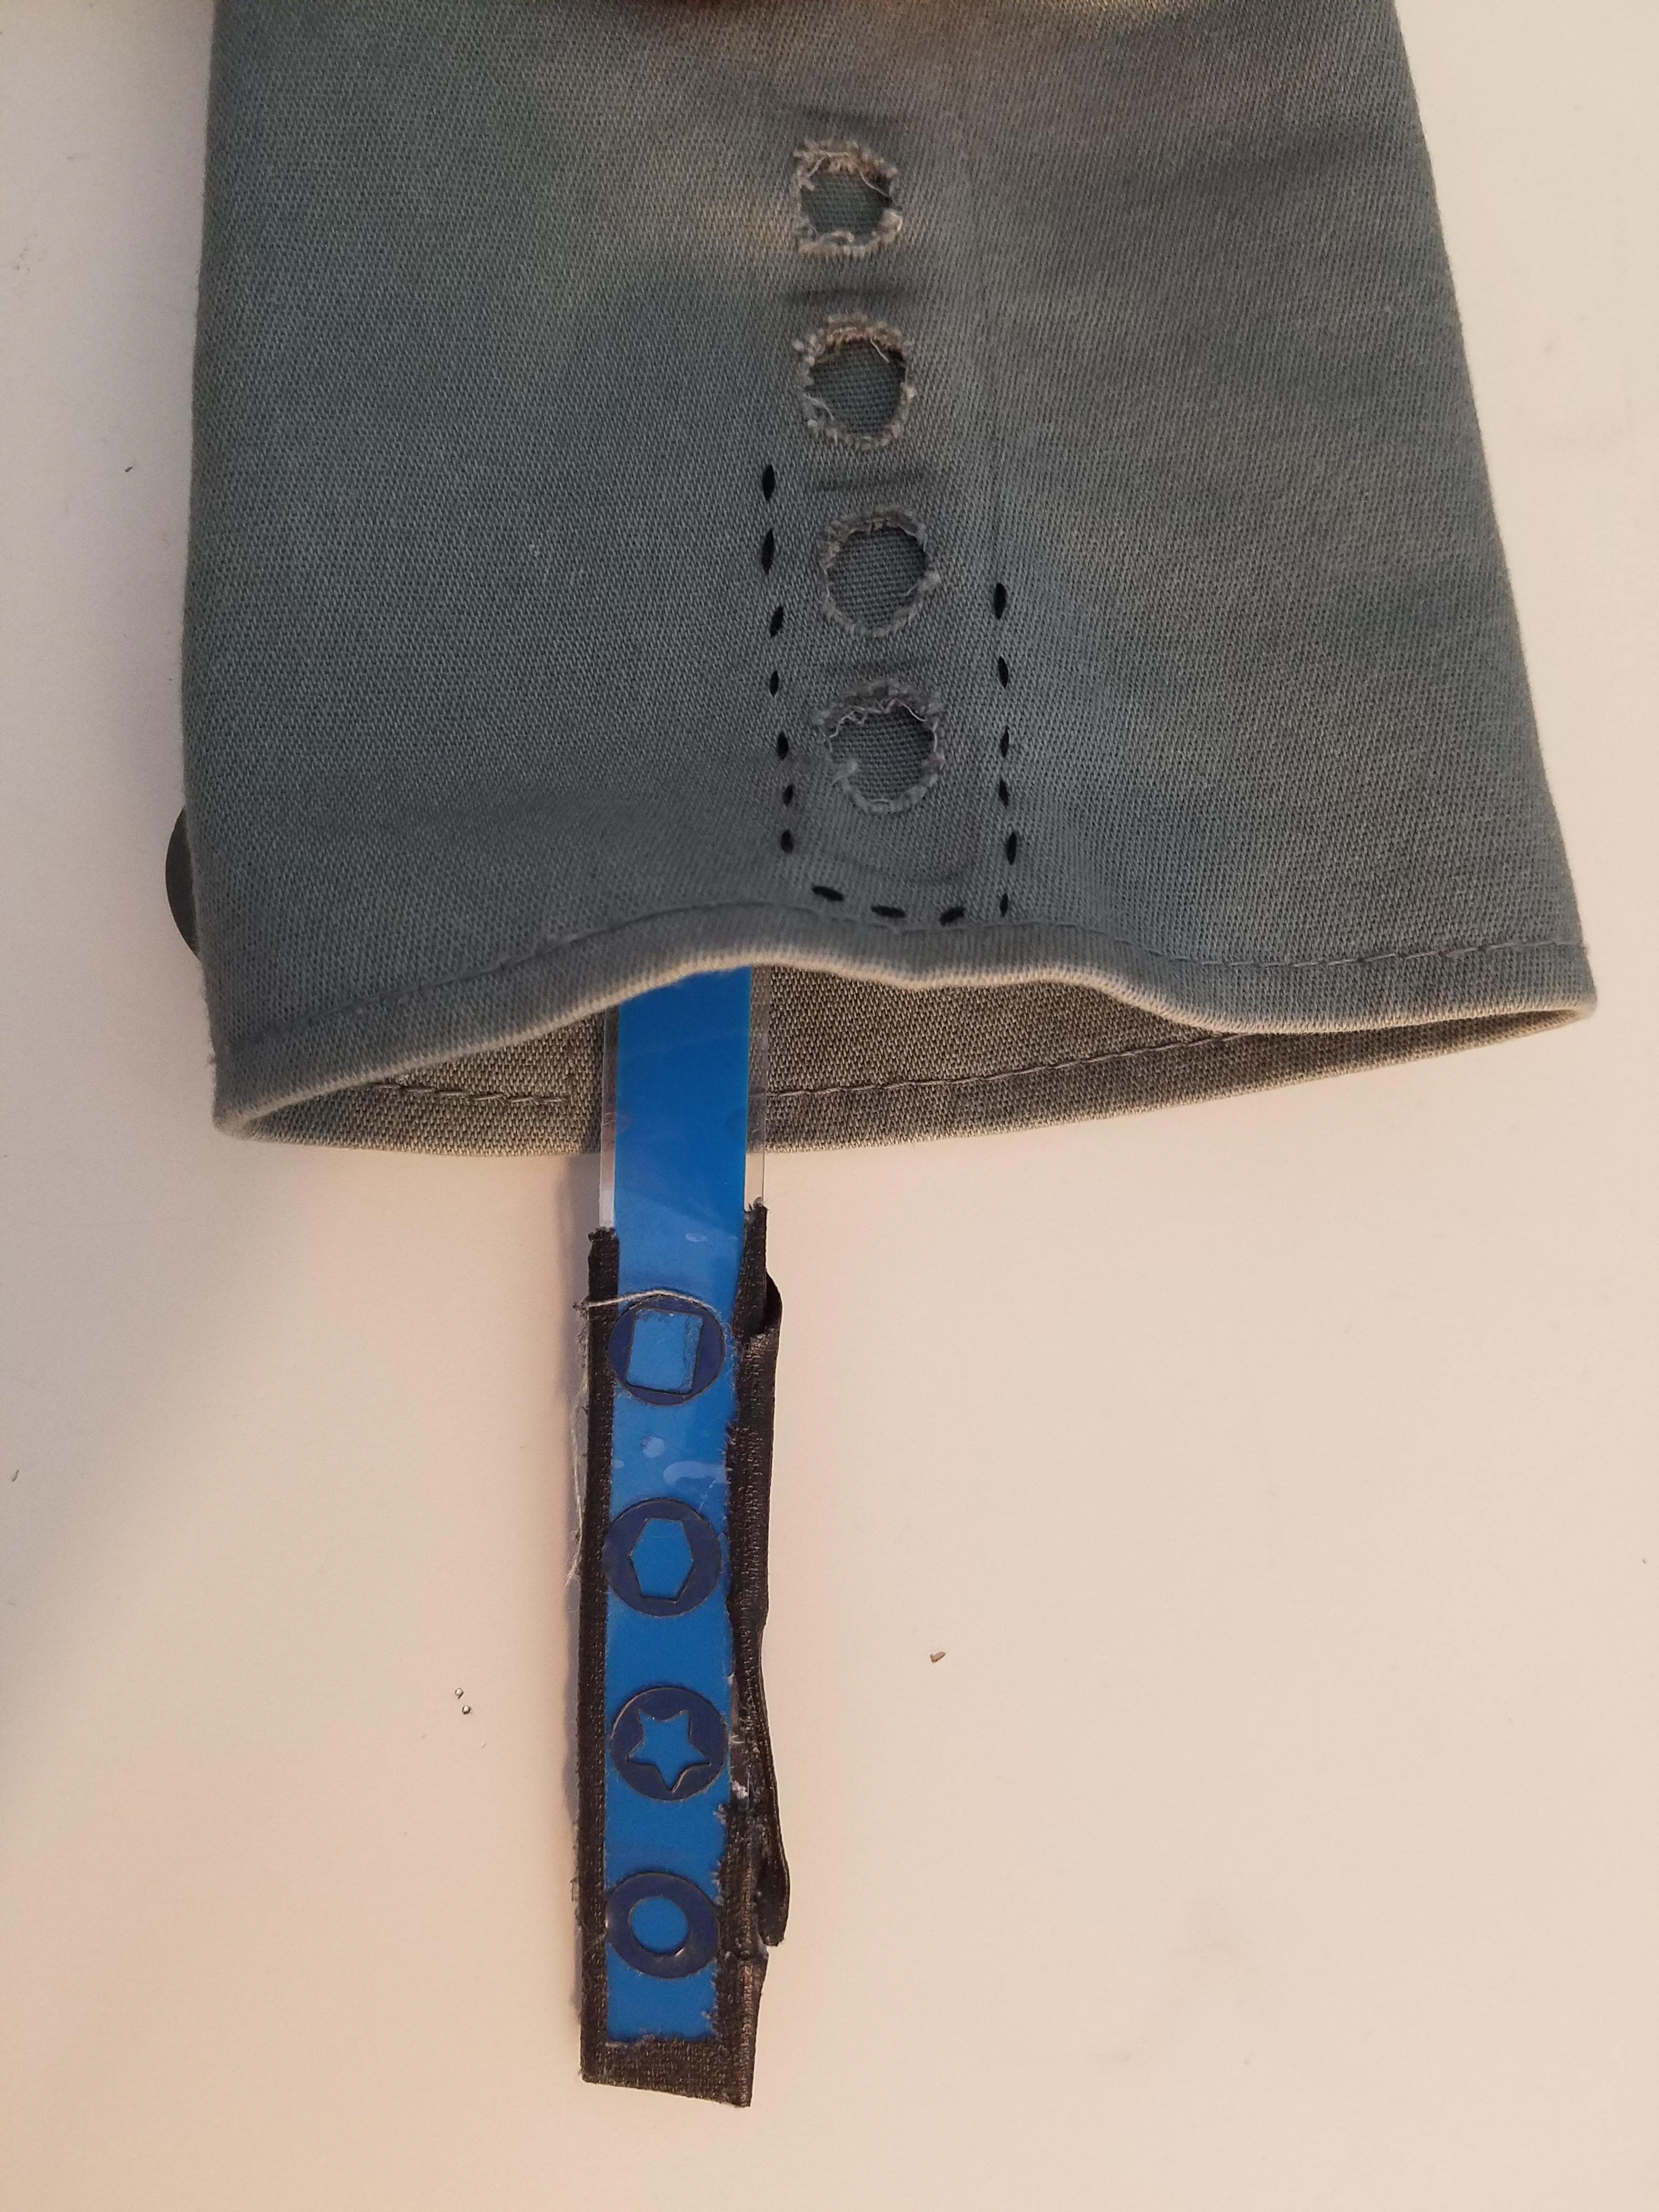
Prototype: Embedded Sparkfun Flexible Display
Employing a sparkfun flexible neo-strip, We were able to adapt the technology in smaller form factor. Implementation of the sparkfun flexible display was deceptively difficult. We only wanted specific geometries and sections of the strip to light up in accordance with certain RFID tags. To accomplish this we had to carefully hack open the strip and modify its internal geometry. There were no resources available on how to do this, so creative problem solving including modifying the painted cathode electrode and individually powering various sections was employed.

Prototype 3: Fabricating flexible displays and IOT integration
Working with pre-frabicated flexible displays proved to be rather constraining. The number of form factors we could create were limited and modifying pre-made displays were difficult, time consuming, and dangerous. To continue our exploration into the ubicomp technology, we ordered the raw materials to fabricate our own flexible displays.
To fabricate the displays, we had to employ a screen printing fabrication methodology pictured below.


The fabrication process involved screen printing and baking 3 chemical layers. The first two layers created a magnesium compound that reaction to product light when a strong electric field is place on it. The third screen printed layer is a silver liquid electrode. Once these layers are baked, place conductive plastic film is placed on the other side as the other electrode.


We used the Sparkfun escudo as our high voltage supply, as we had with the previous pre-fabbed flexible displays.
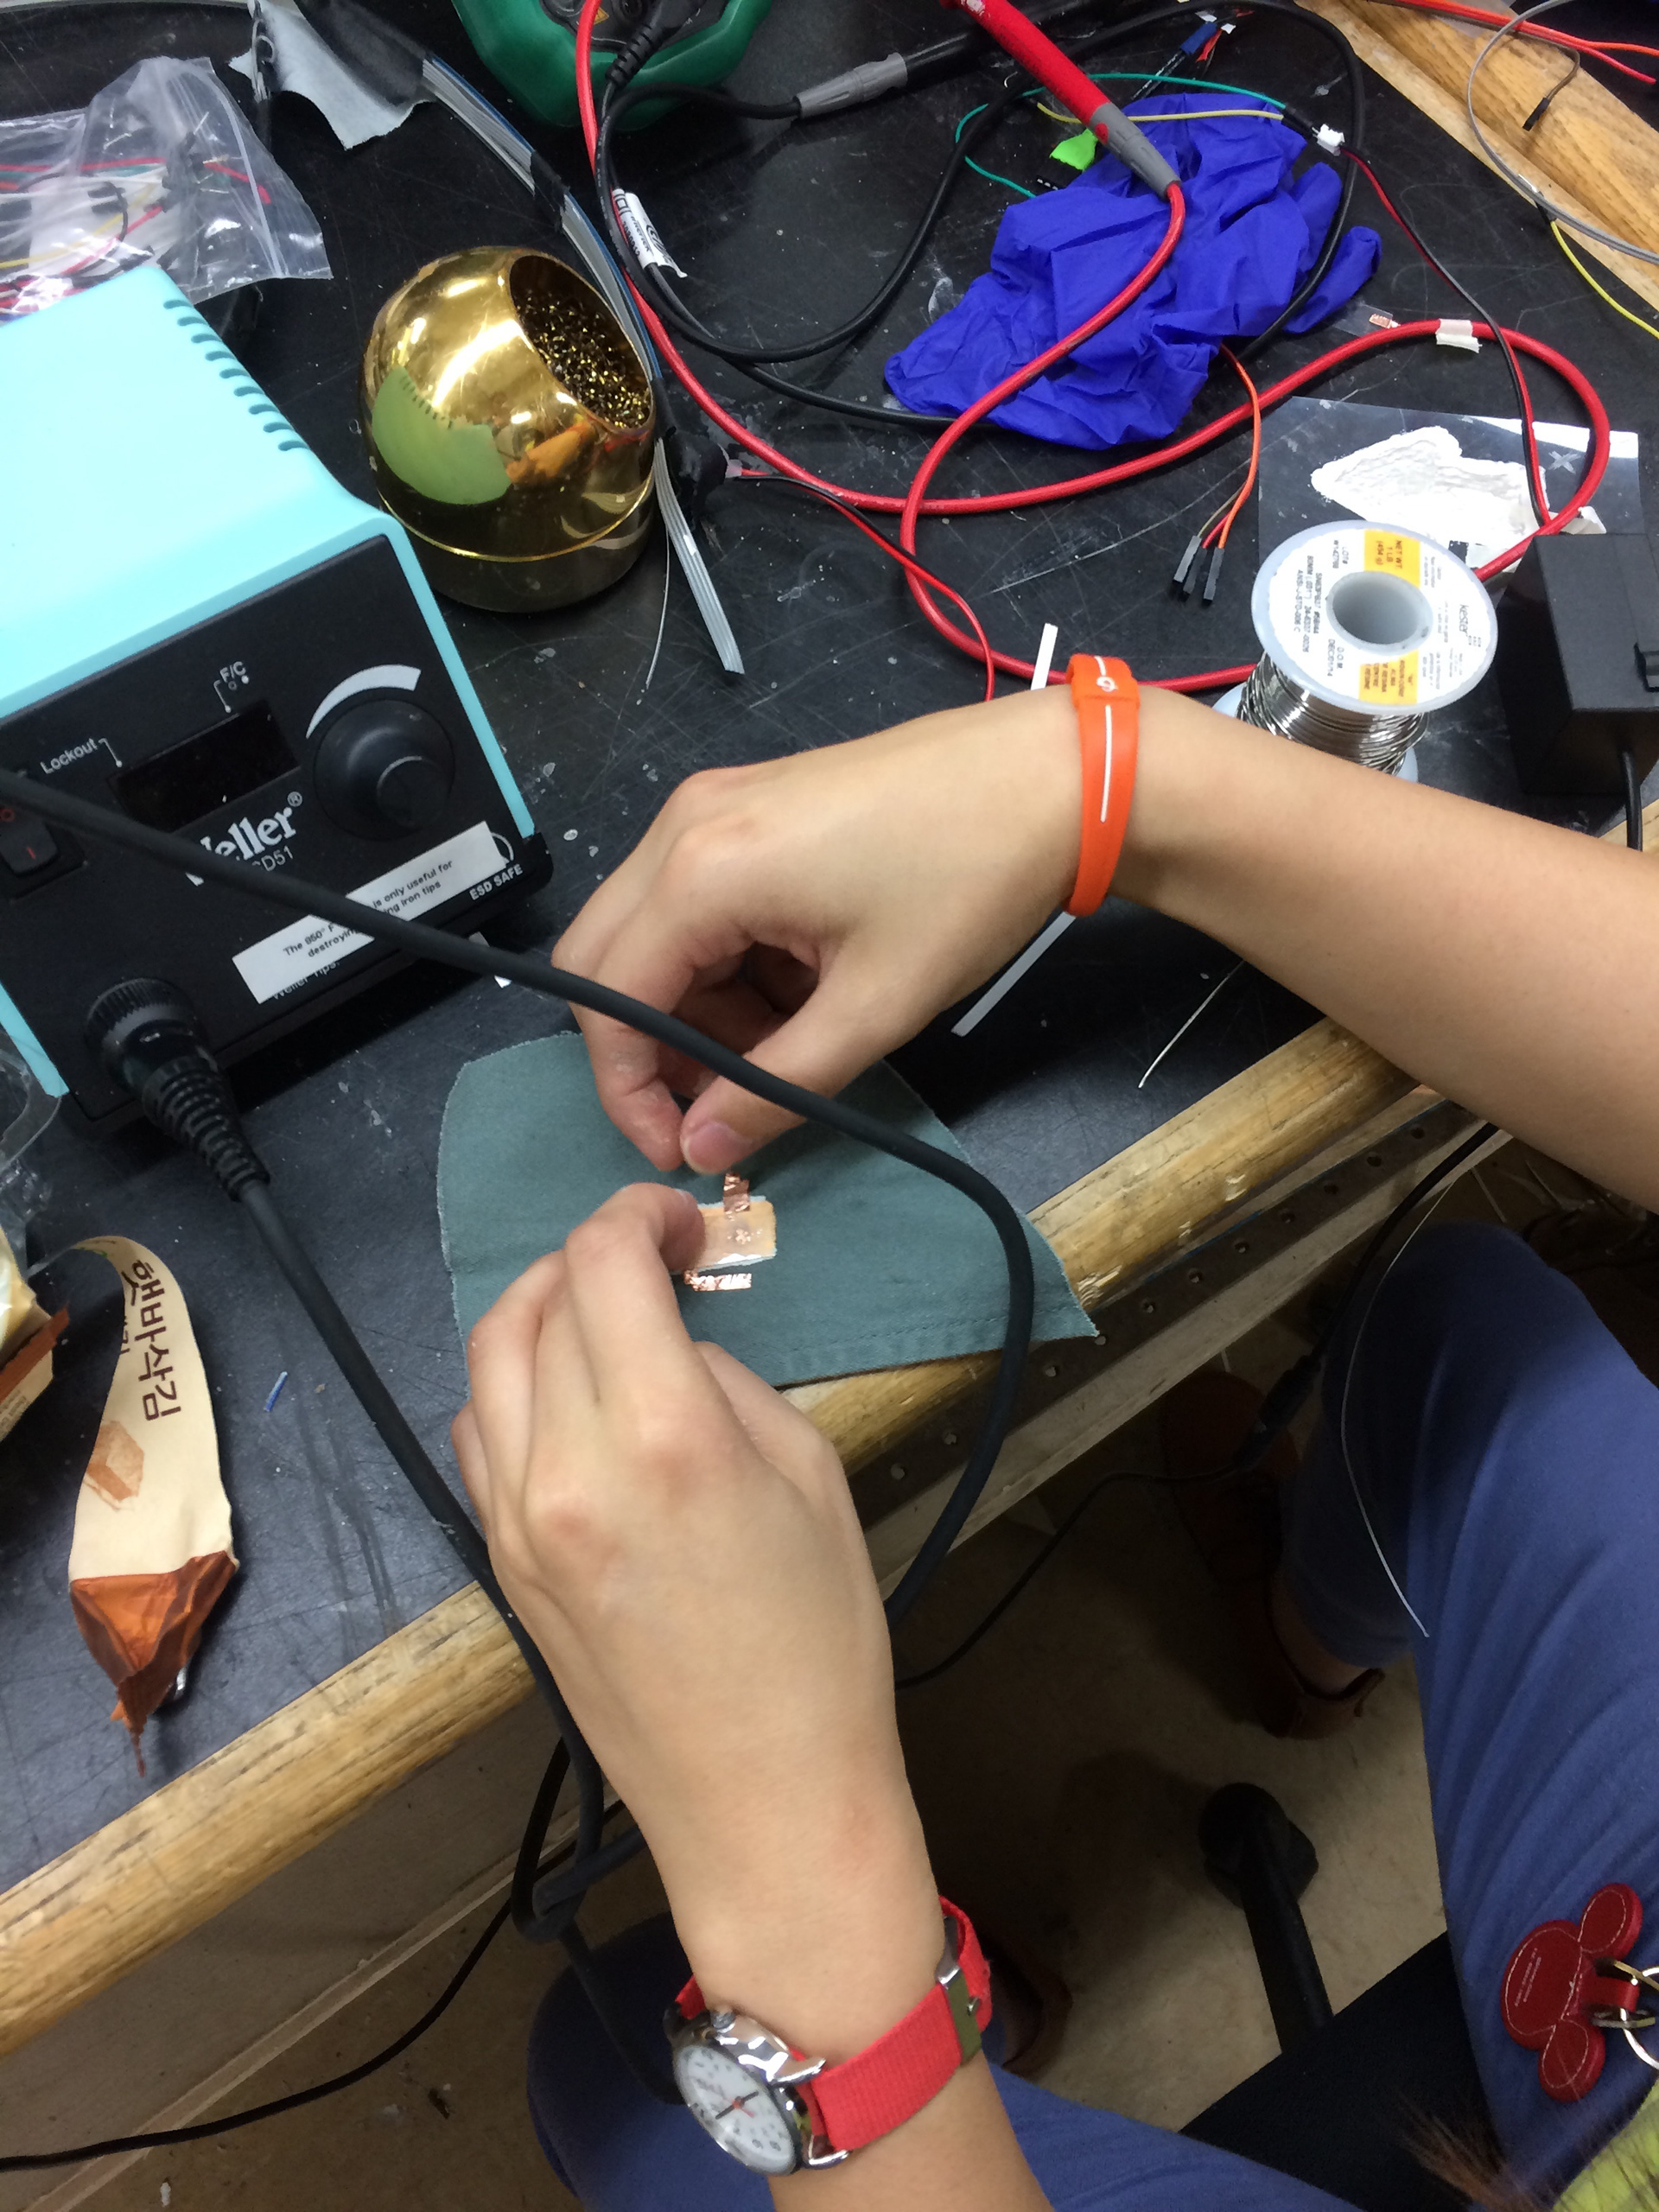
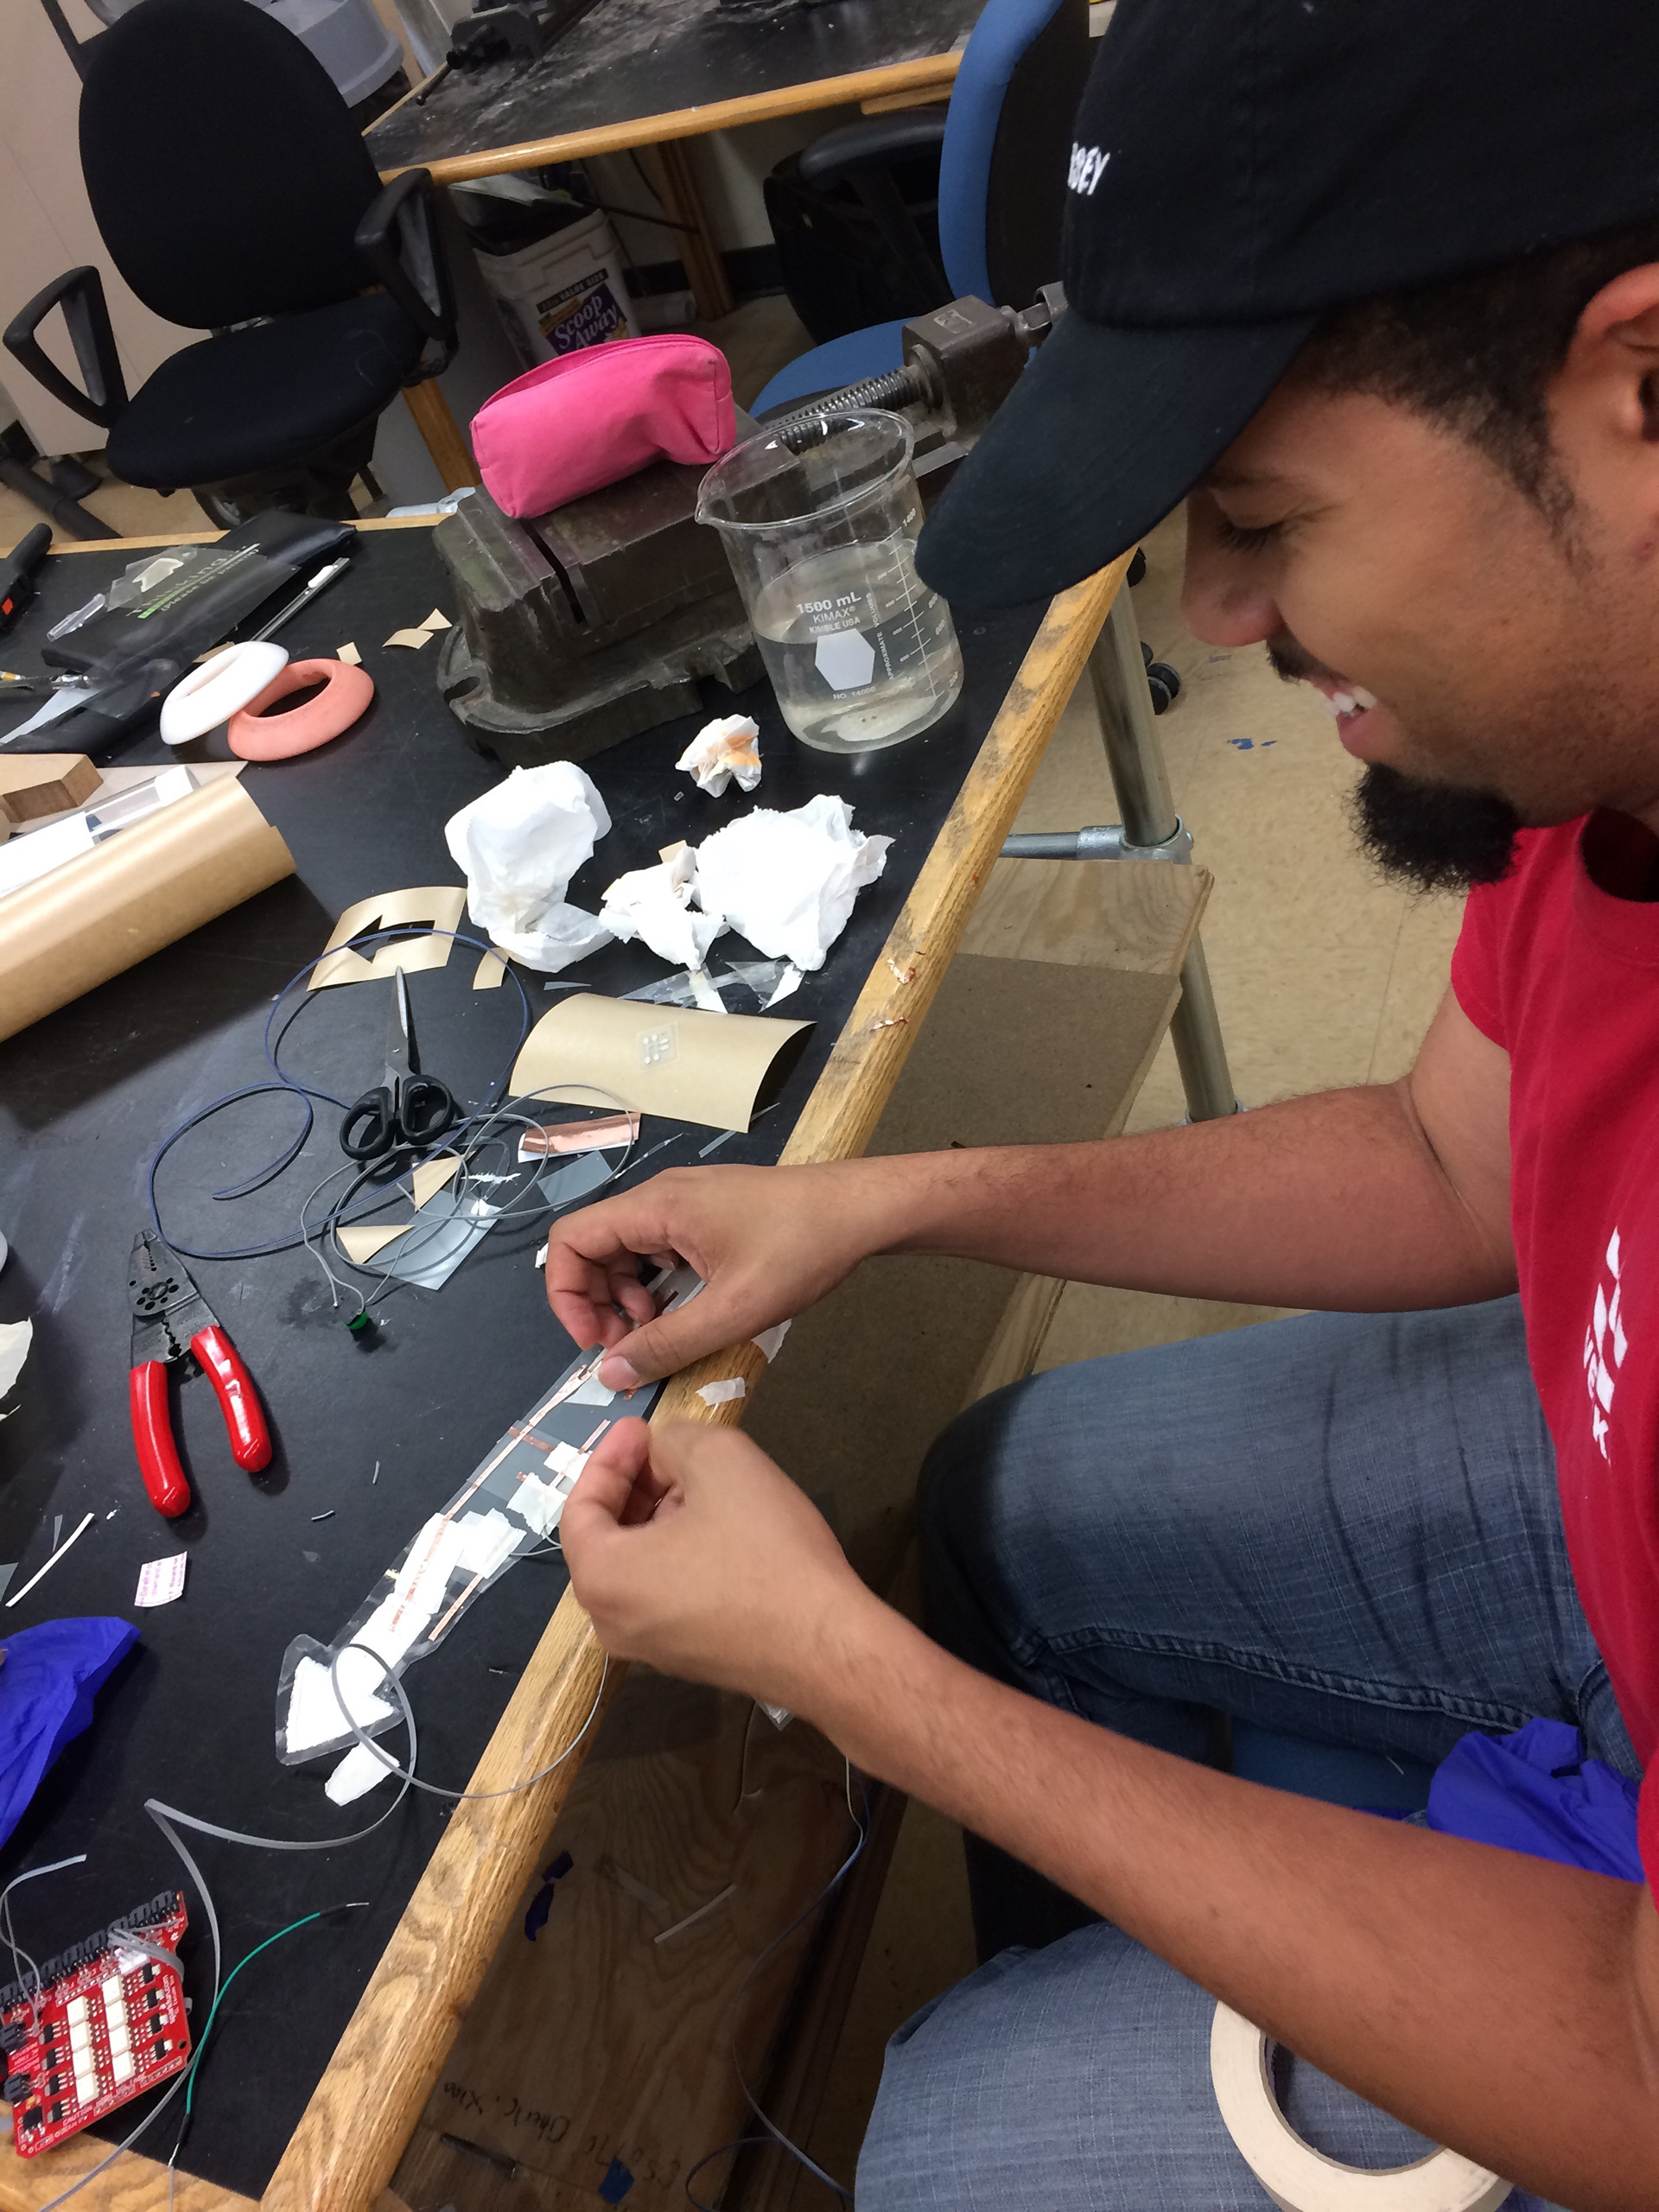
Testing our custom built Flexible Displays
Integration with the wearable jacket. This application was a fashionable turn signal solution for bicyclists in the night time.
IOT implementation
We also took the opportunity that custom fabricated afforded us to explore an earlier proposed application of flexible displays. We thought ubiquitous navigation weaved into a wearable using a fidelity flexible displays to indicate travel direction or traffic to the user should be explored.

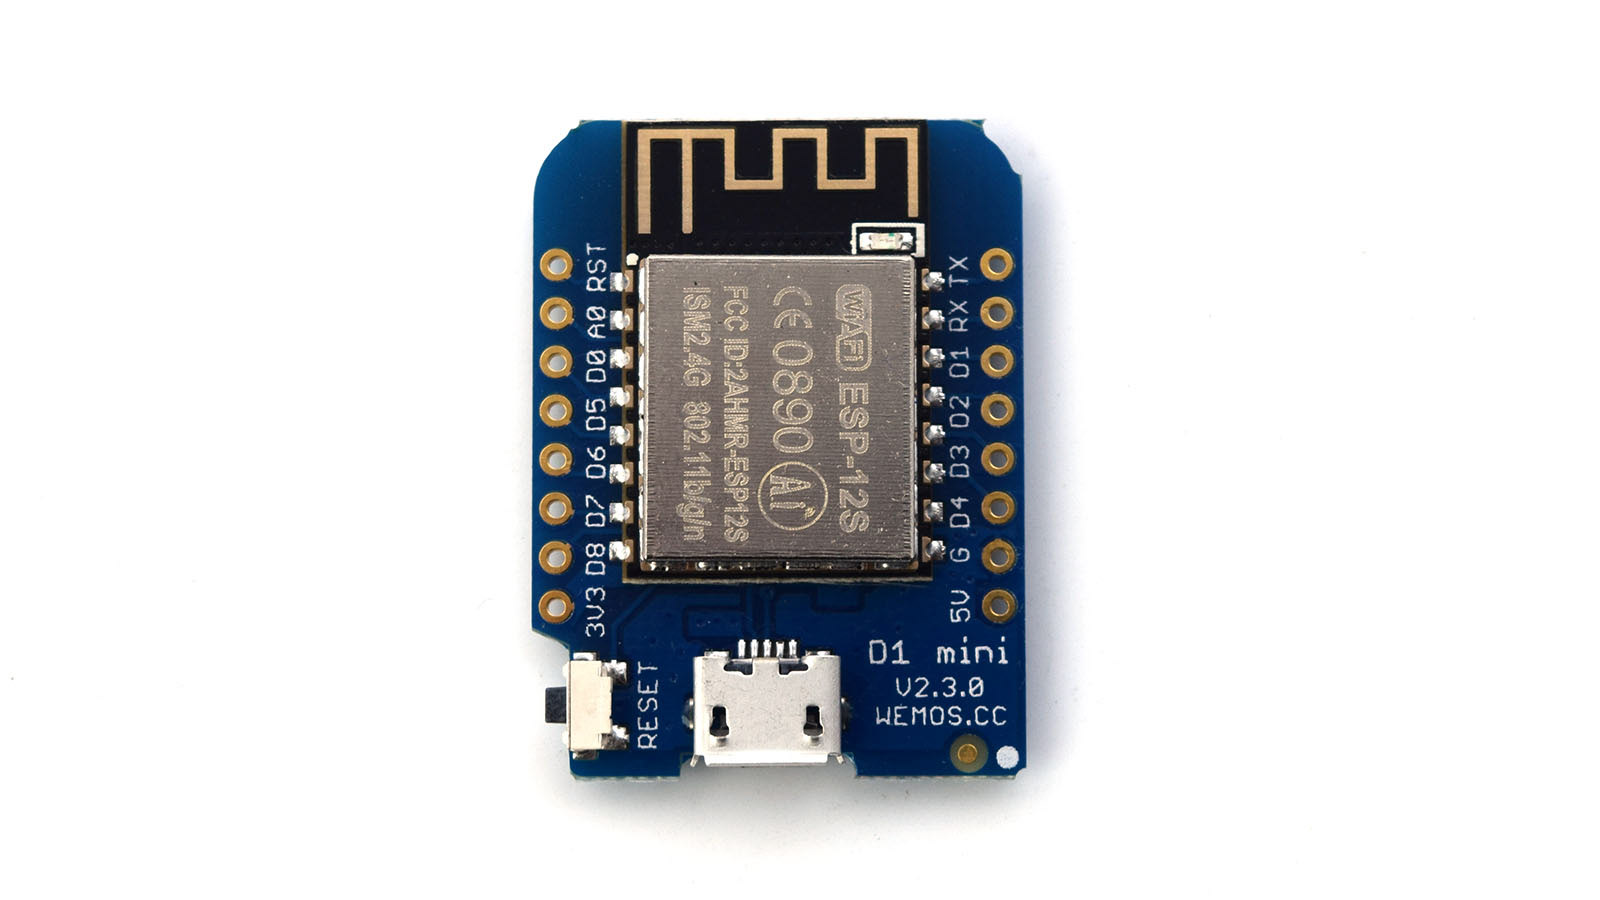

To do this we tied the displays we created a Wemos D1 Mini that would function as both a microcontroller for the displays but would also connect to Wifi. We then followed an instructable on how to employ the telegram phone application, google maps API, and the Wemos D1 to display, in real time, traffic updates on a specific route on the flexible displays we created.
The Instructable can be found here:
http://www.instructables.com/id/Arduino-Traffic-Display-Using-Google-Maps-API/
http://www.instructables.com/id/Arduino-Traffic-Display-Using-Google-Maps-API/

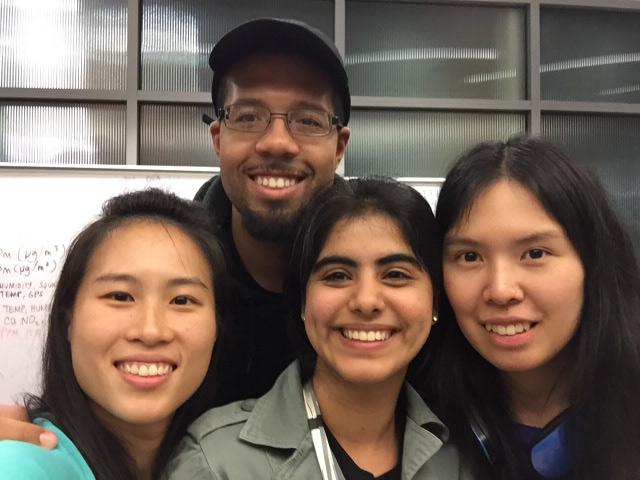
The Team :)